How to use FREE DNS Service with Google Apps

1. Login to Domain Panel at http://domains.host4cheap.org

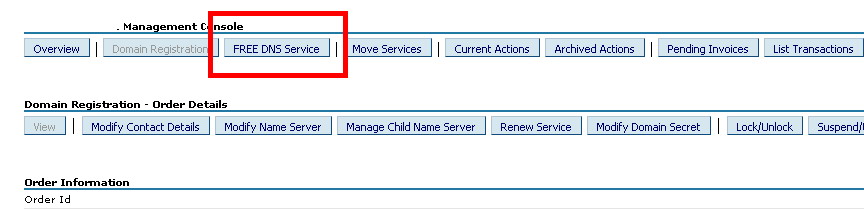
2. Click On Domain Name. You will see windows like this


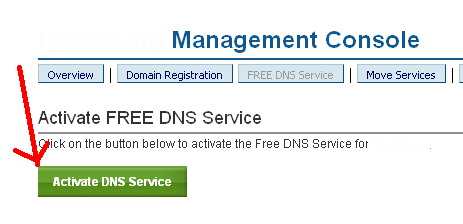
3. Click Activate DNS Service

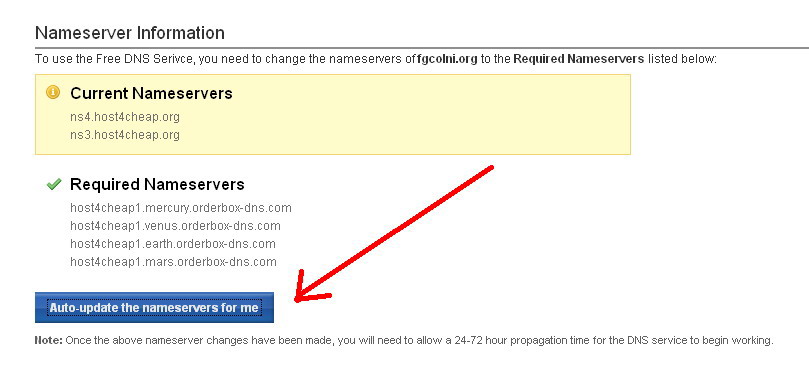
4. Click Auto-Update Nameservers for me

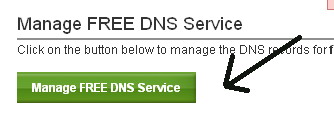
5. Click Manage FREE DNS Service

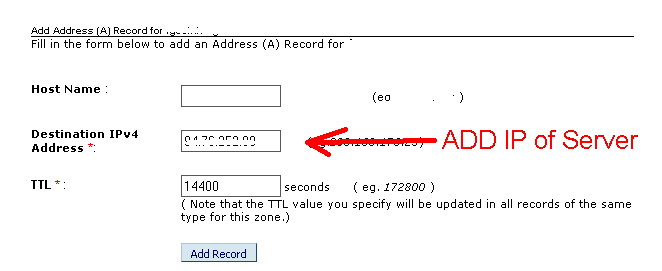
6. Click Add A record

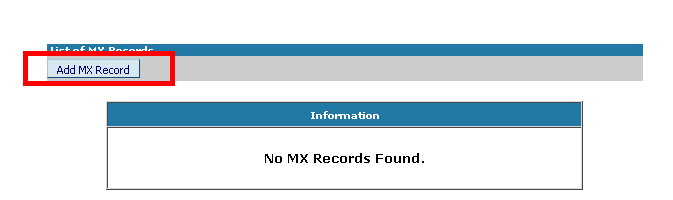
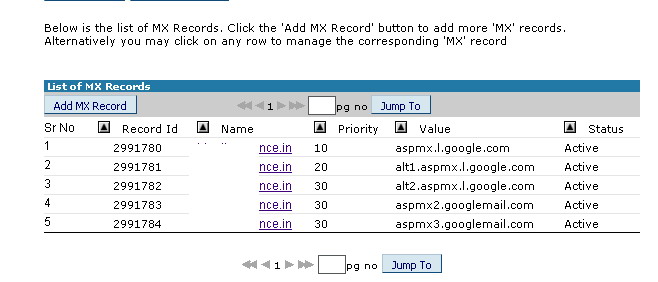
7. Similarly Add MX Record


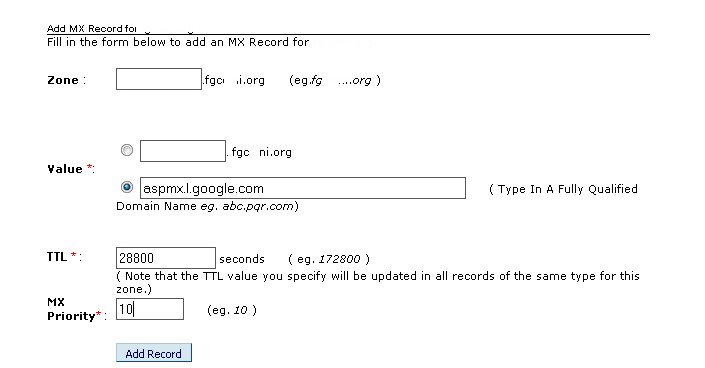
8. Repeat Steps for all Google MX Servers.

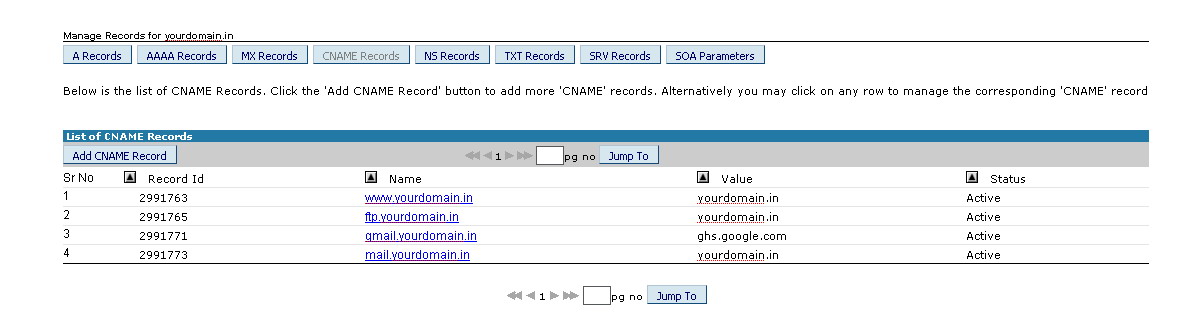
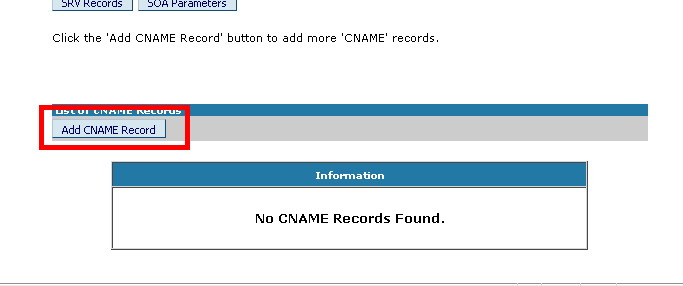
9. Now add CNAME records


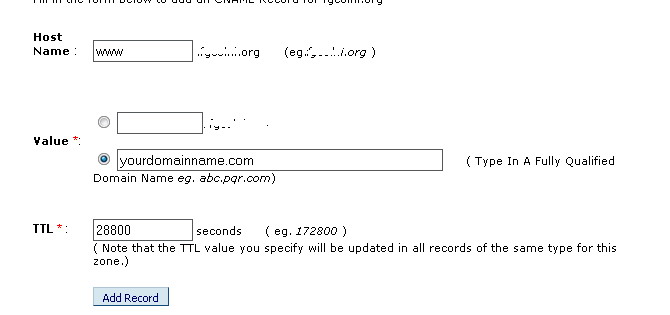
10. Repeat steps for Different CNAME Records


  • 2 Users Found This Useful
這篇文章有幫助嗎?

相關文章

Using ADrive for Offsite Remote Backups

Disclaimer : This is my tutorial. It is not in any way affiliated with ADrive. I am not...

Configuring Your MX Records: EveryDNS.com

Configuring Your MX Records: EveryDNS.net Log in to your account at EveryDNS.net. On the...

Getting started with Google Apps

Google Apps is one of the best and widely used service from Google for Businesses. The service...

Do you offer accounts for testing?

We do not offer trial accounts at this time. We do have a 30-day money-back guarantee on our...

Getting started with Google Apps

Google Apps is one of the best and widely used service from Google for Businesses. The service...

Powered by WHMCompleteSolution